
Quick answer
Open “Settings” → “Recording Settings” to choose the bitrate, sample rate, and channels. These settings apply to new recordings.
Step by step
3 stepsRecord a short reference
Try the current settings first. Listen to vocals, instruments, and the ending rather than judging quality by file size alone.
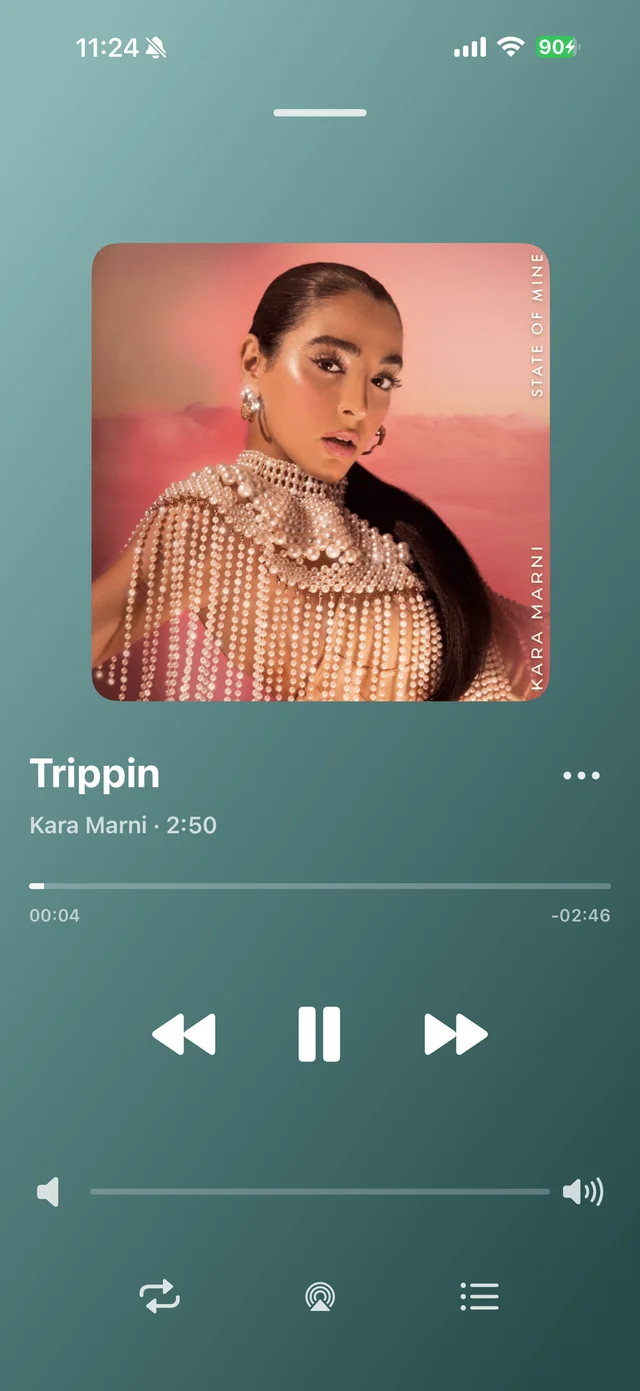
Playback progress, volume, and the player menu Choose the settings
The default 128 kbps suits many recordings. Higher bitrates use more storage. Leave sample rate and channels on “Follow System” unless you need specific values.
Compare the same passage
Record the same short passage again and compare it before starting a long recording.
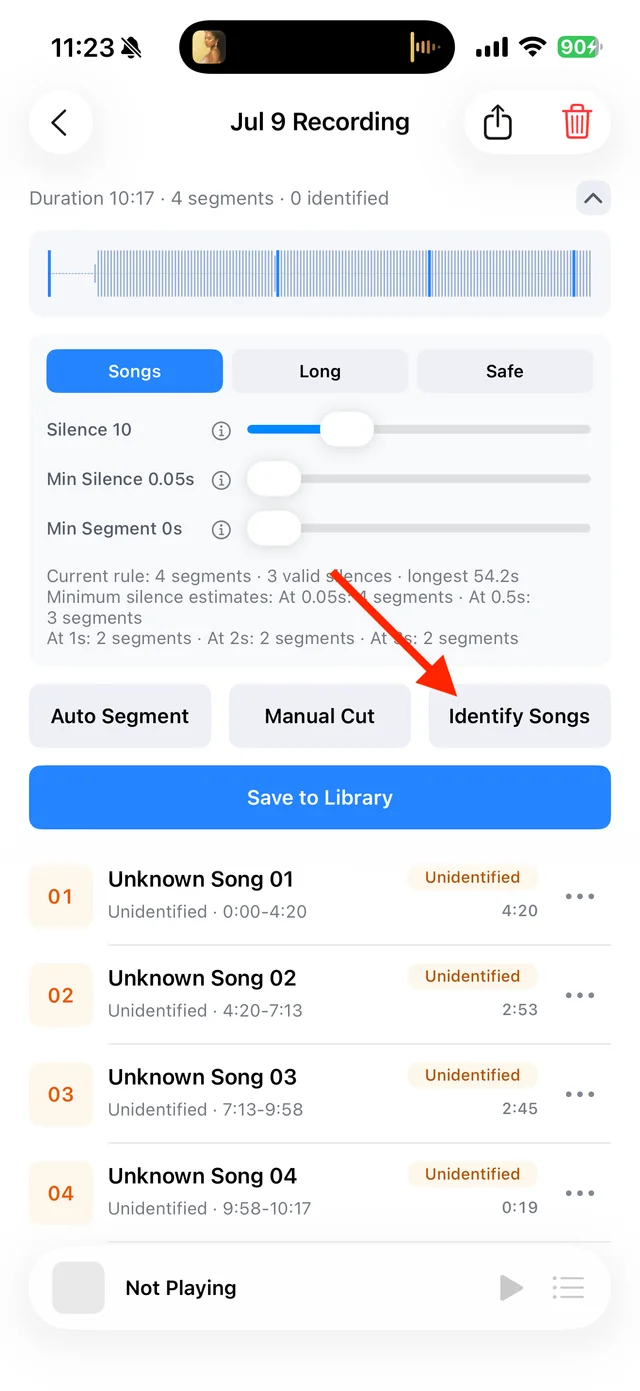
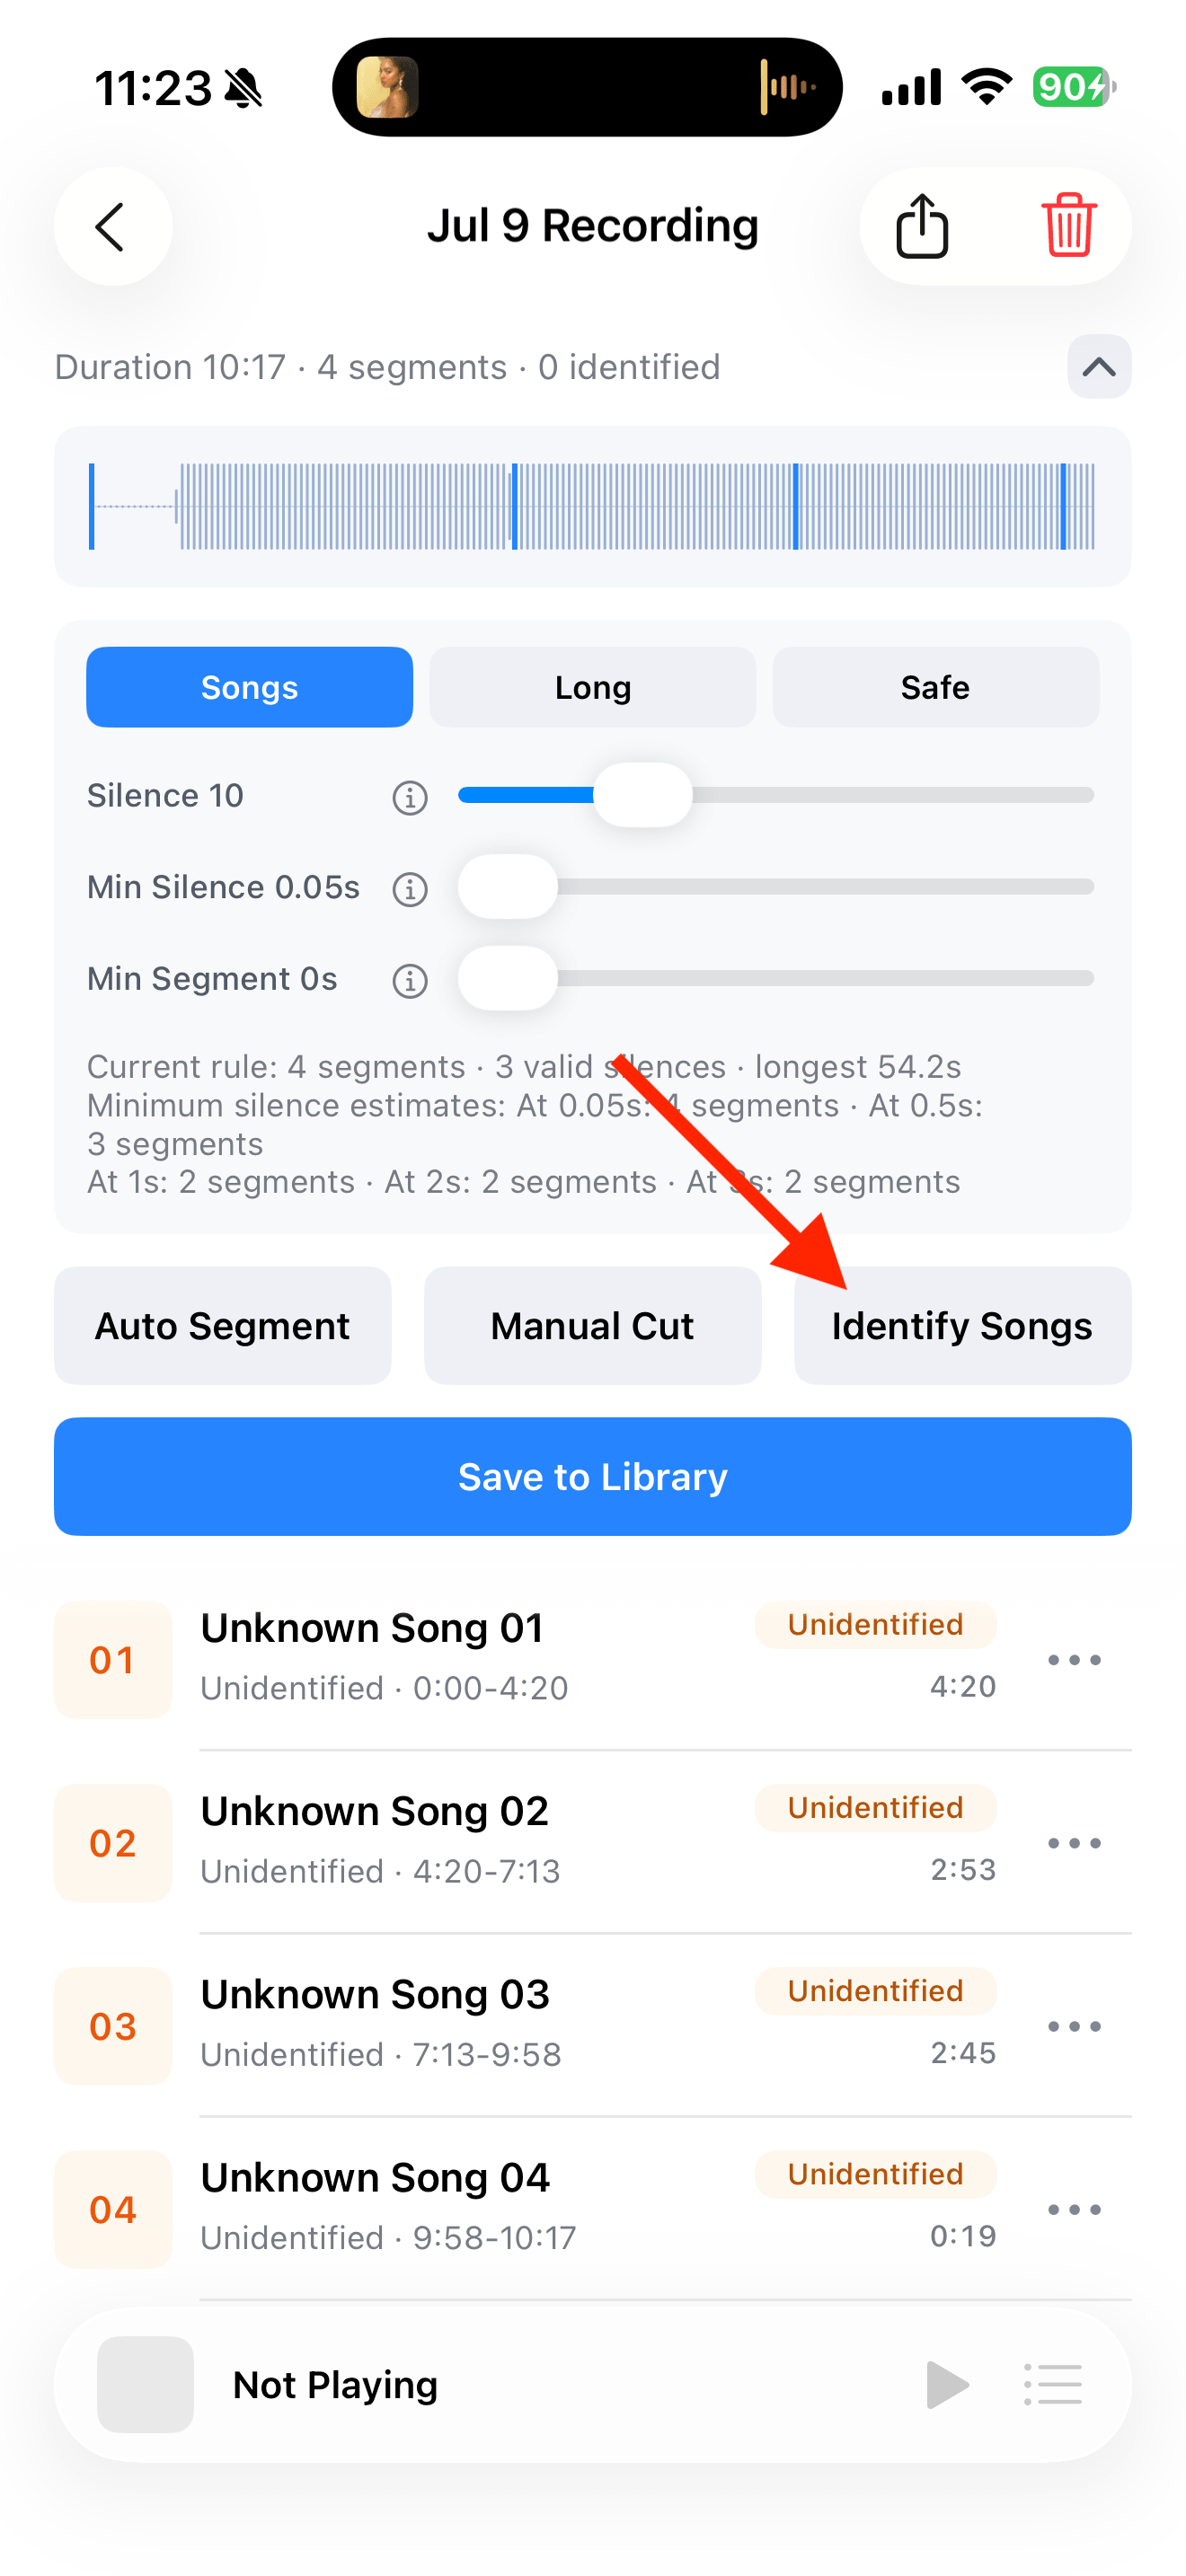
Split, identify, and save audio on the recording page
Common questions
Does a higher bitrate turn a source into lossless audio?
No. It cannot restore detail missing from the source. Recording quality still depends on the original playback.
Will this improve my previous recordings?
No. The settings apply only to recordings made after the change.