
Quick answer
Deleting an original recording does not remove songs already saved to the Library. Save and check every clip you need first; unsaved segments will be lost.
Step by step
3 stepsCheck that everything is saved
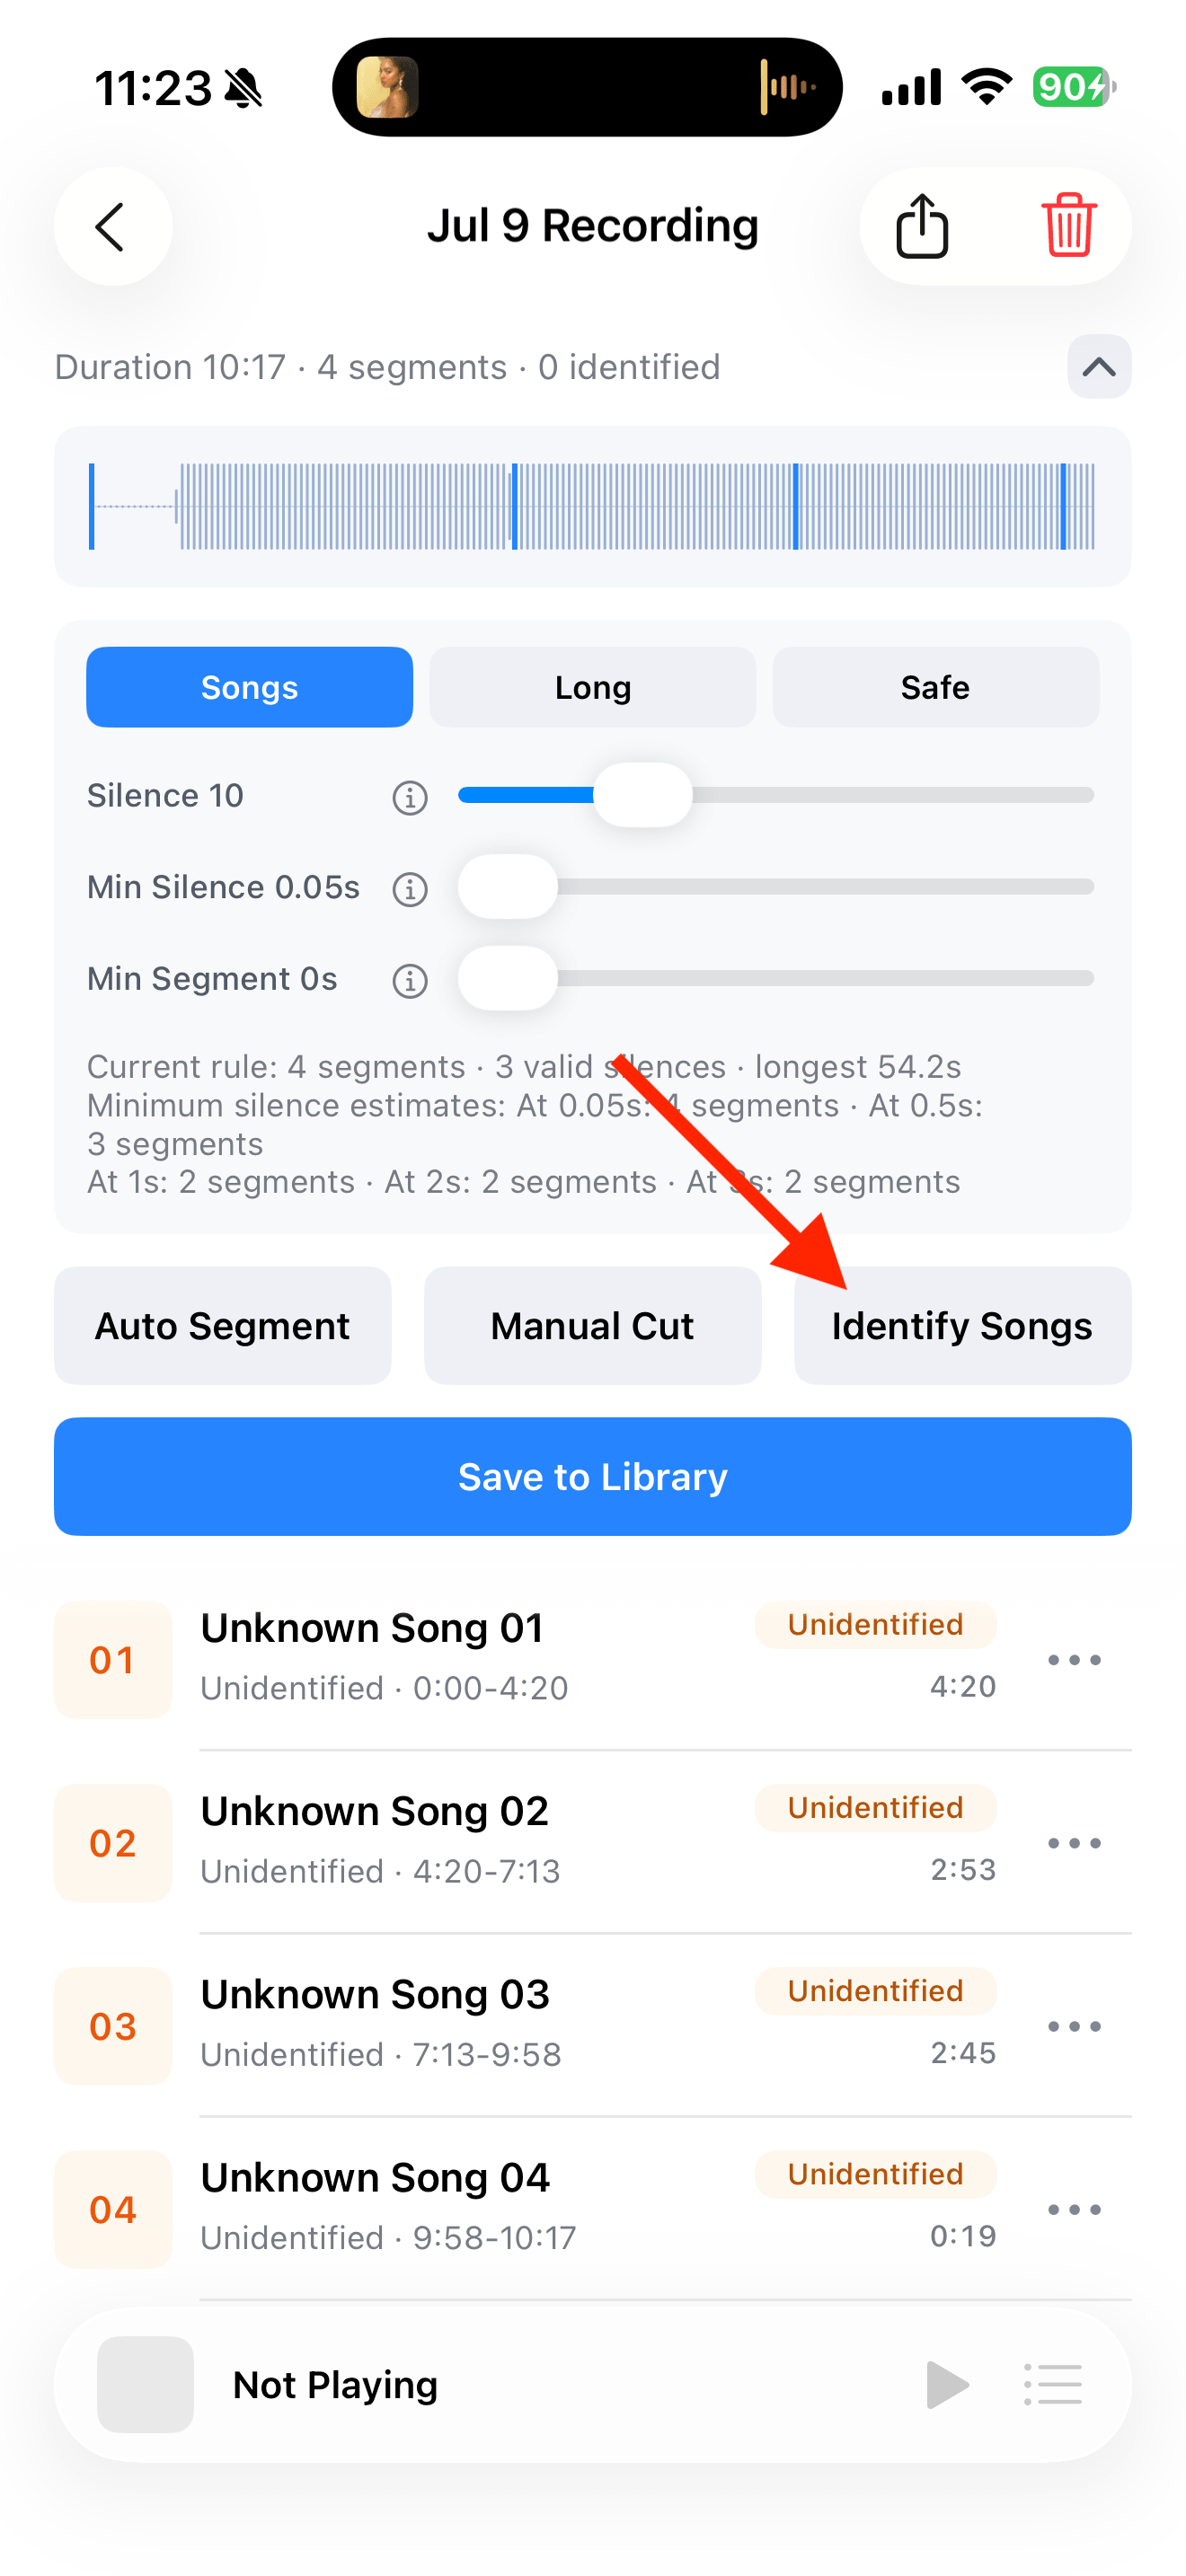
Include unrecognized songs, spoken passages, and short endings you want to keep. Save them before deleting the recording.
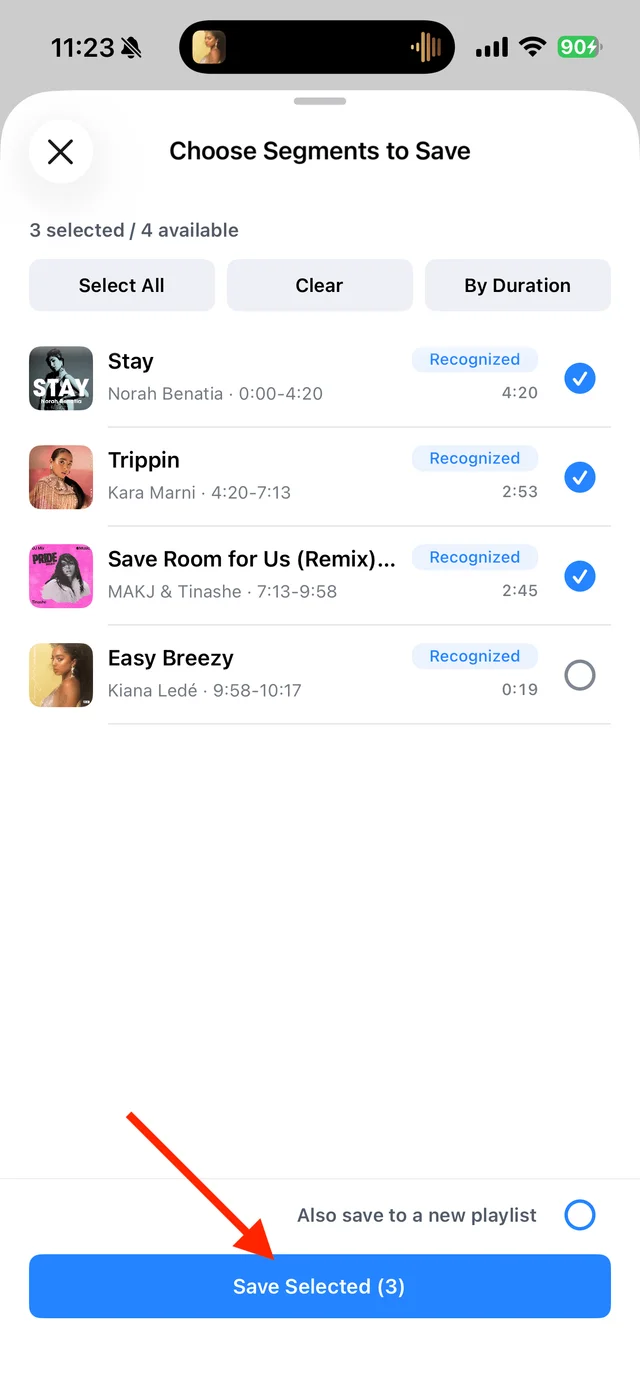
Select the tracks you want to keep and save them Play the Library tracks
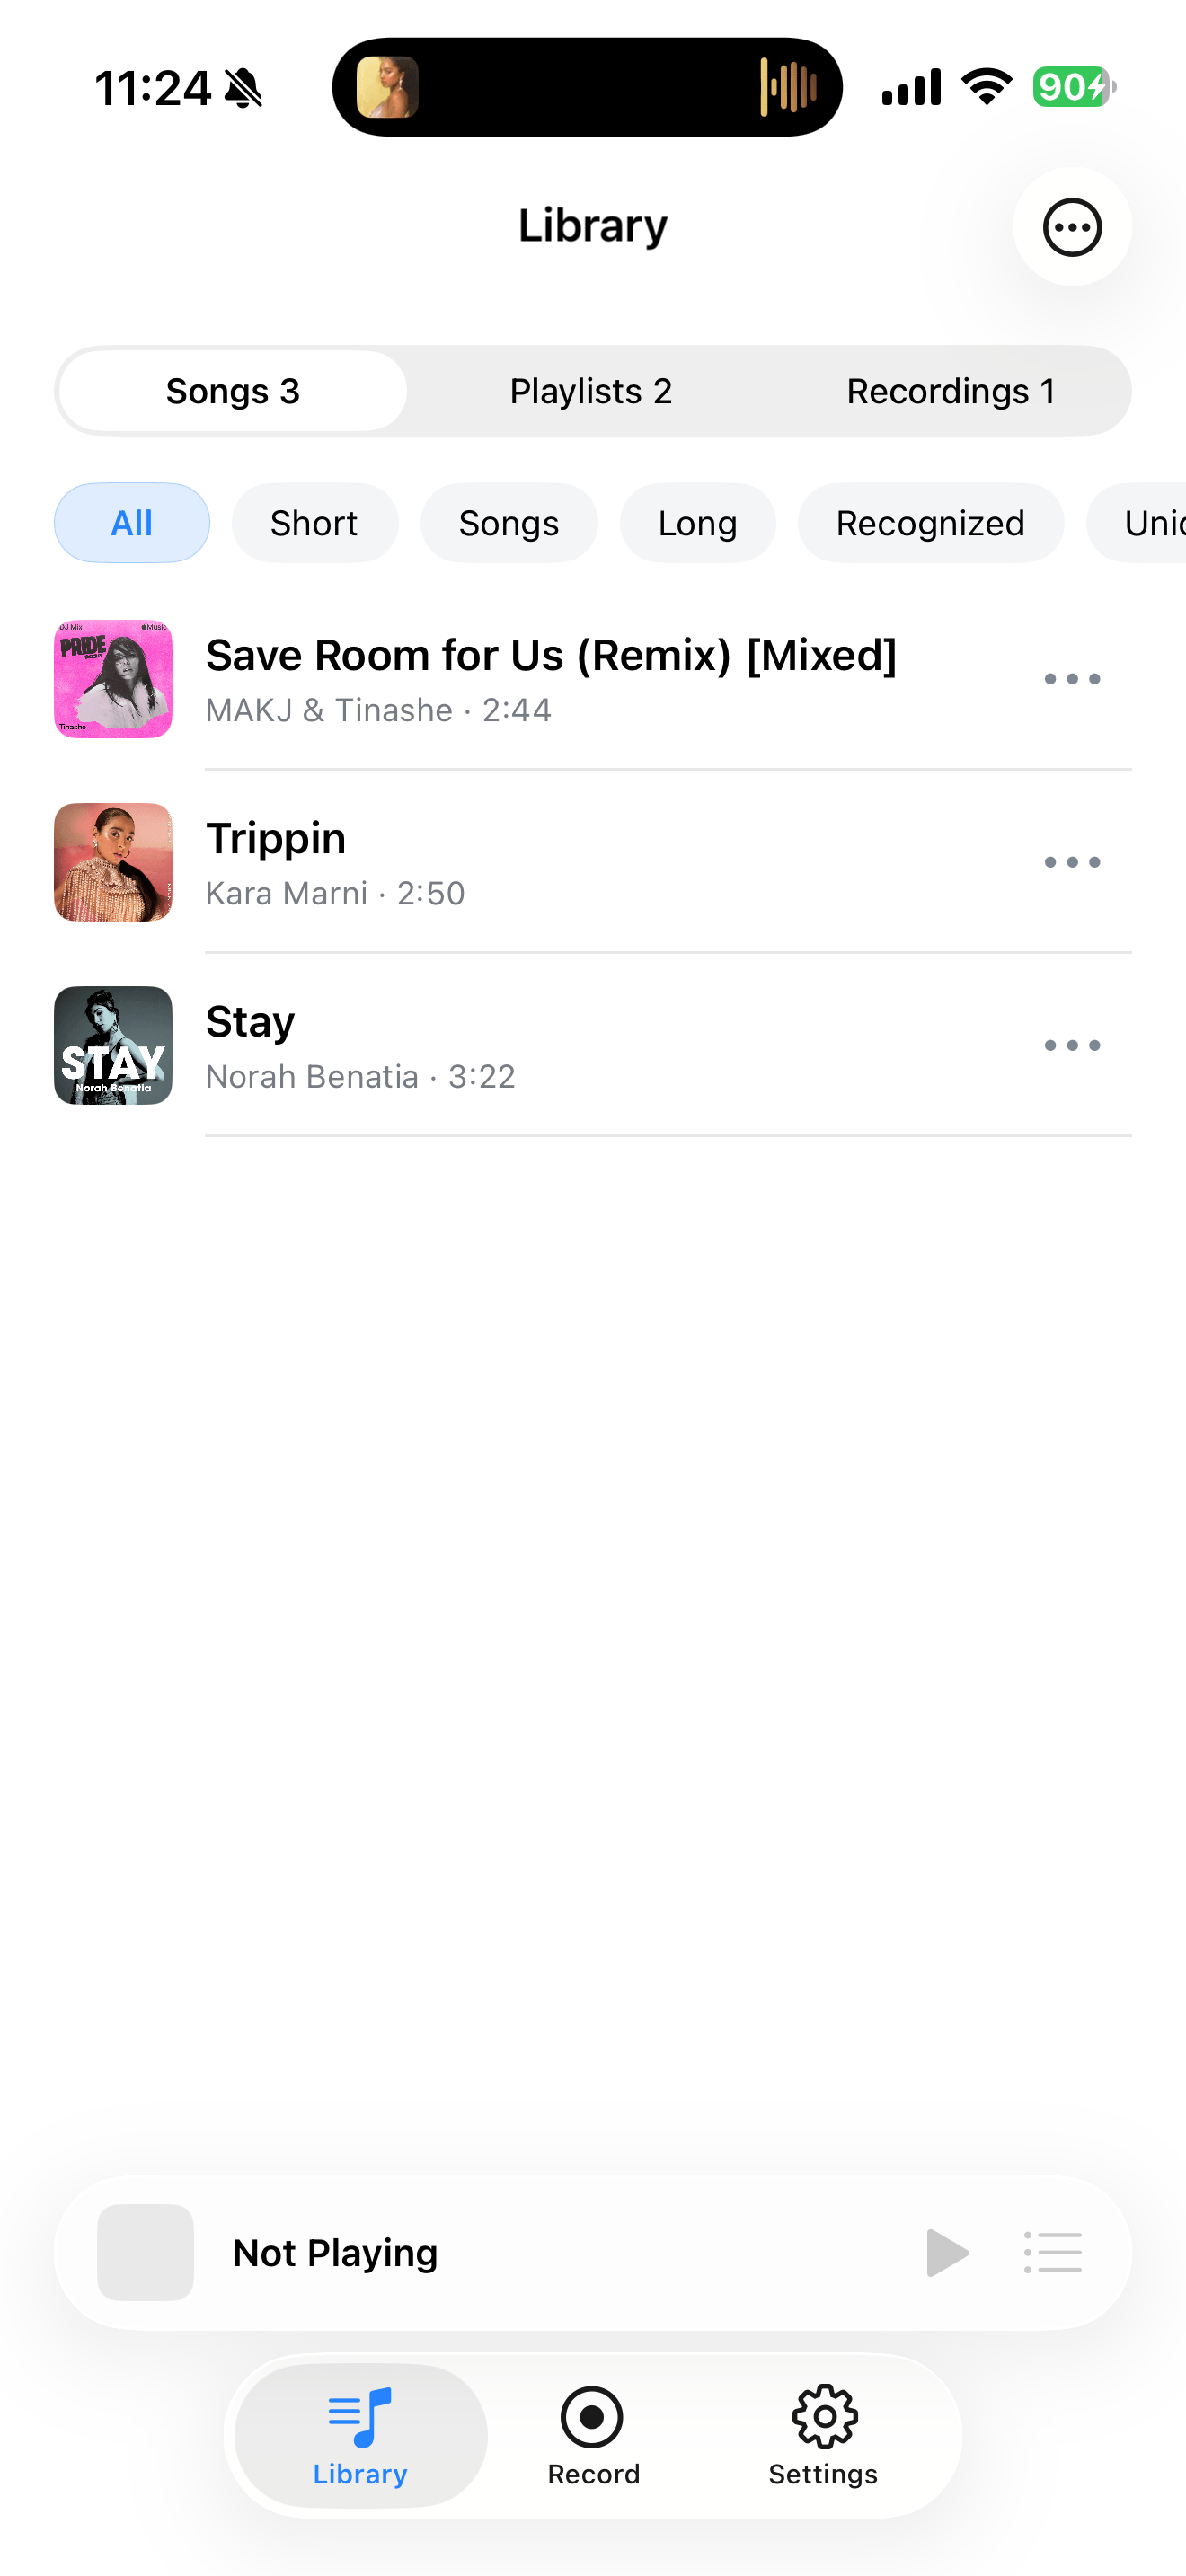
Open the saved songs in your Library and check their duration, beginning, and ending. Back up important recordings.
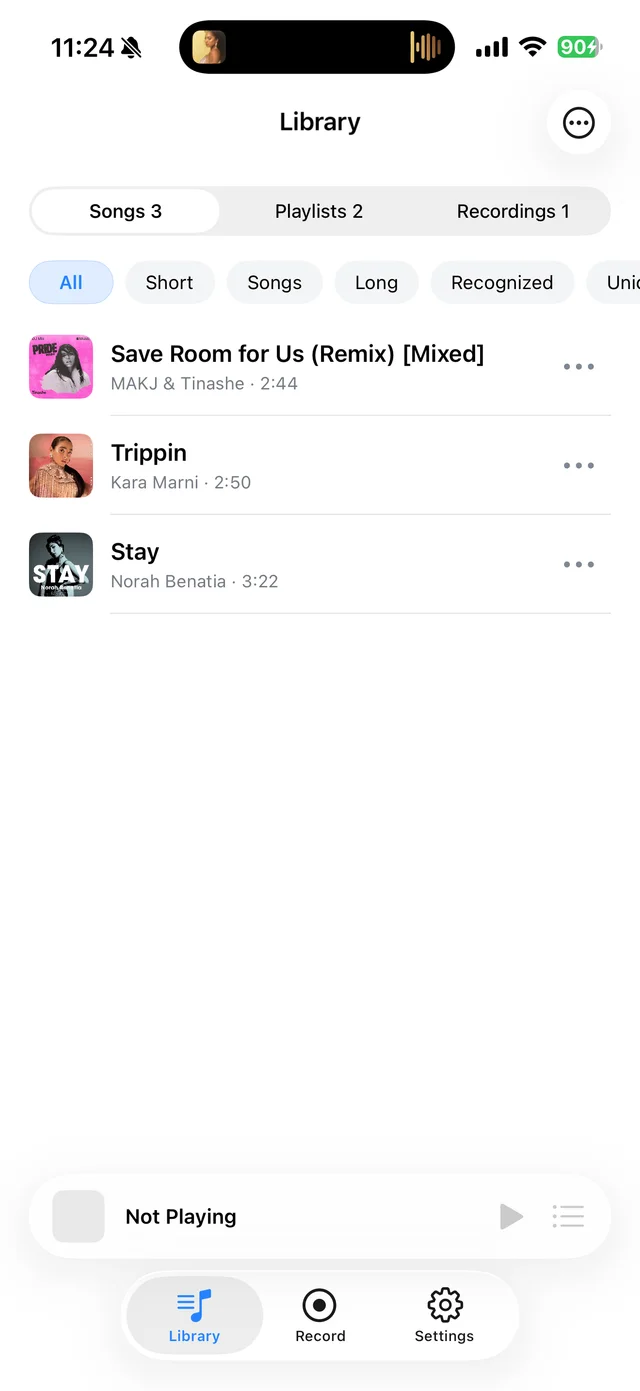
Find songs, playlists, and recordings in the Library Delete the original recording
Delete from the recording’s details and confirm that you are removing the original recording, not the saved Library track.
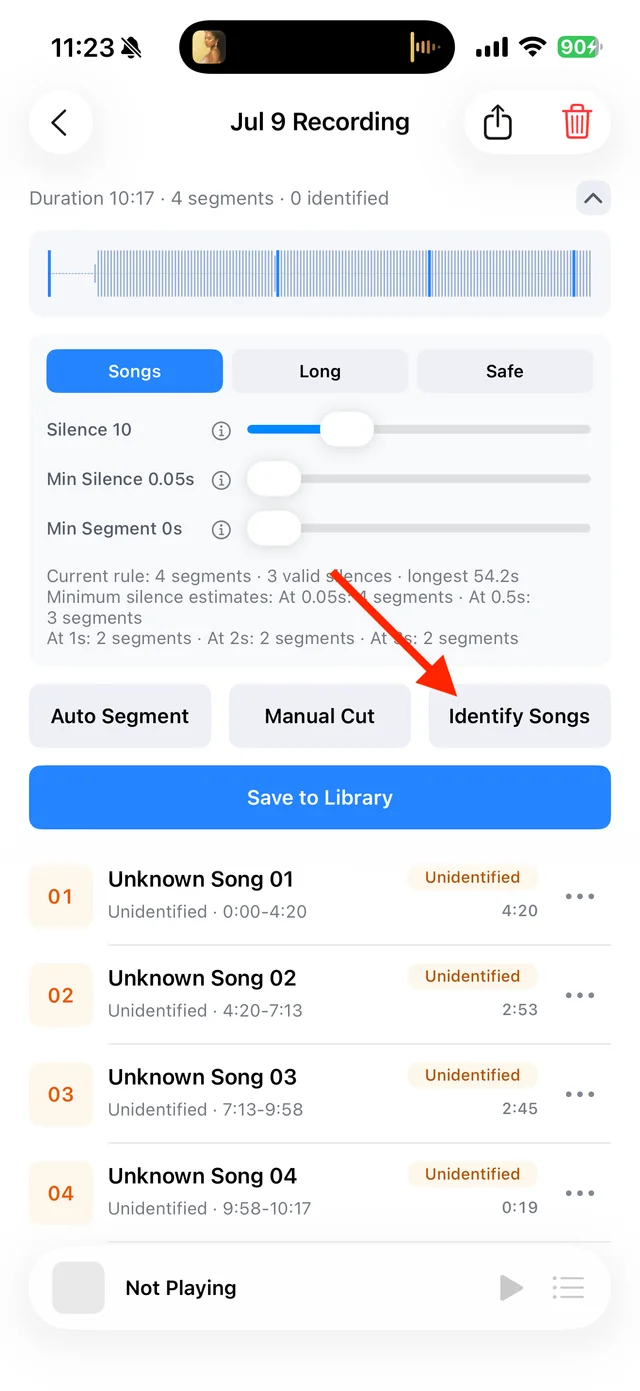
Split, identify, and save audio on the recording page
Common questions
What happens to segments I did not save?
They are lost when you delete the original recording. Save them to the Library first if you want to keep them.
Can I edit the full original again later?
Only if you kept another copy. Saved segments do not preserve audio that you left out.